How to Use GrabMyGig
Get started in minutes and start earning more with our automated Roadie bot
Step-by-Step Guide
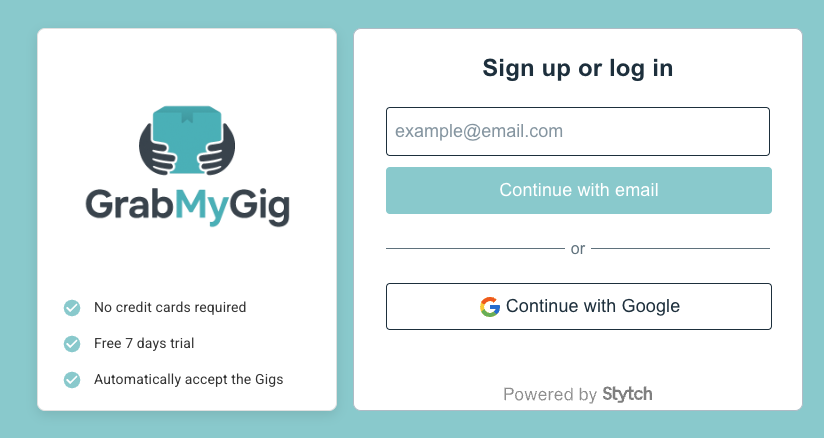
Create Your Account
Visit app.grabmygig.com and sign up for your free account. You'll need:
- Valid email address
- Strong password
💡 Pro Tip: Use "Continue With Google" to create quickly and save time
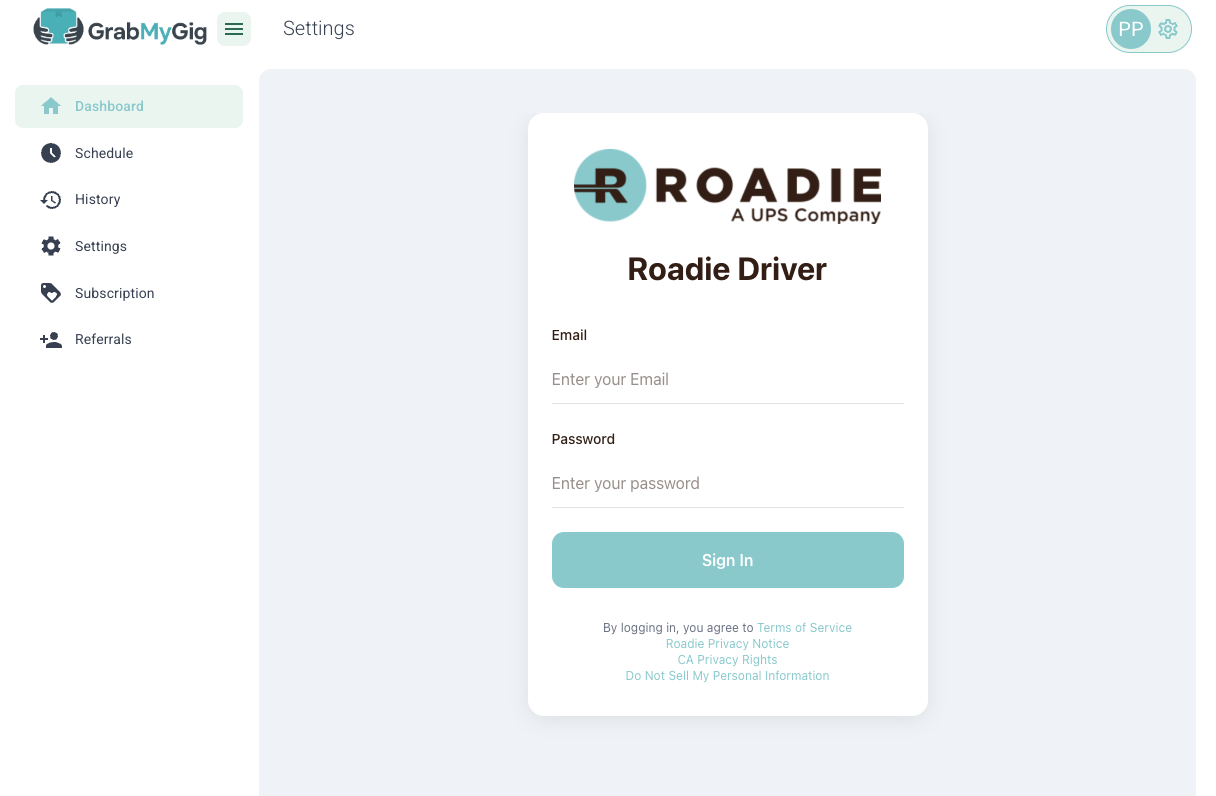
Connect Your Roadie Account
Securely link your Roadie account to enable bot automation:
- Enter your Roadie login credentials
- Enter OTP authentication if required
- The system will automatically remember and you won't need to log in again
🔒 Security: Your credentials are encrypted and never stored on our servers
Configure Your Preferences
Set up your bot to match your driving preferences:
Offer Criteria:
- Minimum pay amount ($30+)
- Mininum pay per hour
- Maximum distance (miles)
- Preferred delivery duration
- And more...
Search Schedule Settings:
- Active days of the week
- Time ranges (9 AM - 6 PM)
Enable Notifications
Stay informed about your bot's activity:
- Email notifications for accepted offers
- Telegram alerts for real-time updates
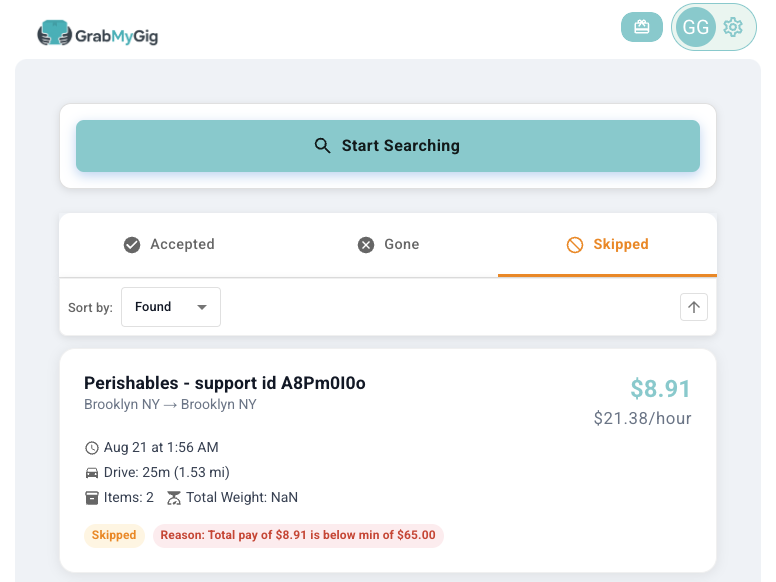
Activate Your Bot
Start earning more with automated offer monitoring:
- Click "Start Bot" in your dashboard
- Monitor real-time activity
- Track accepted offers and earnings
- Adjust settings as needed
🎉 Congratulations! Your bot is now working 24/7 to capture the best offers